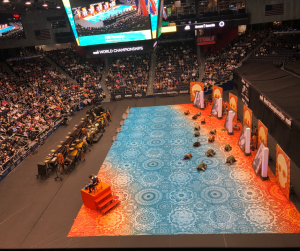
How Winterguard Floor Tarps are Made
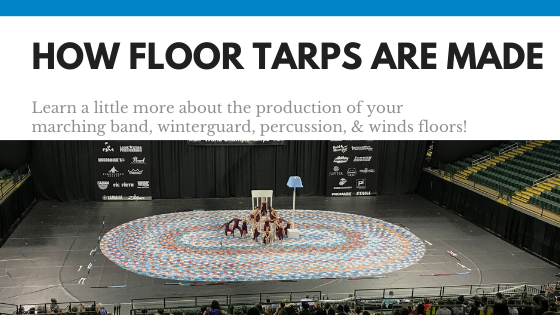
Getting Your Art Fit to Print
If you watched the video, you may have heard our Business Development Director, Damon, discussing the importance of sizing artwork appropriately for print. Our art department has expanded significantly in the three years since the video was made, but this point remains true. Making sure your artwork is the perfect size and color is still an important task. We have a number of ways to help you do that. See our design tips at the end of this article!
Mini Floors
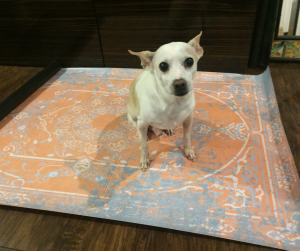
Did you see all the mini floors in the video? We send you a miniature version of your floor so you can be sure all of the colors are exactly what you want before your winterguard floor is printed and shipped to you. Our mini floors are also verified again by our prepress technicians before going to print so that we are sure that the colors you approved are exactly what we see too. What have you done with your mini floor? We’d love to see!
Like Your Printer, but Bigger…Much Bigger
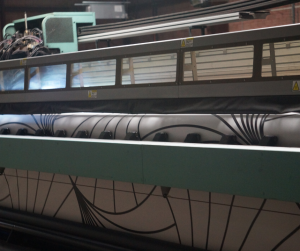
As our Operations Director, Tobe, explains in his tour of our shop in the video, our UV printers are 16 feet wide! The vinyl is fed in from a huge roll on the back of the printer, comes through the printer and is printed much like your desk inkjet printer would print a photo or document, but with ultra violet ink. This means a whole panel of your winterguard, winds, percussion, or marching band floor is coming through the printer at once. When it’s done printing, it is laid out and stacked to be seamed.
How has our printing process changed since 2016?
Not much has changed since 2016 in the mechanics of our floor tarp printing process, but we are constantly making improvements as new technologies become available. For example, our heavier weight 13oz and 15oz vinyl now has a proprietary additive that helps make it more pliable and easy to fold! Our printing capacity is even greater now too. We have two full sized floor printers and three smaller vinyl printers cranking out your props! We have some of the best capacity in the industry, and are able to carefully manage the consistency of your products because all of our printing is done in house.
Why UV Ink?
We use UV (Ultra Violet) Ink because it dries to the touch as soon as the UV light on the printer passes it. This means your floor is one step closer to being show-ready as soon as it comes off the printer. UV ink also helps reduce glare and makes your marching band, winterguard, winds, or percussion floor picture perfect from the stands.
Get it Together!
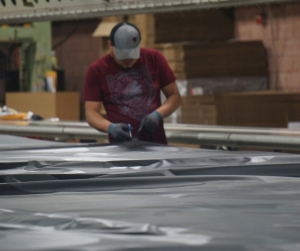
Once your winterguard floor tarp panels are printed, they are ready to be seamed together. Our process uses a hot air seamer, which actually melts the PVC vinyl together, as Tobe explains in the video. Our seaming technicians have years of experience and are committed to making sure your floor looks perfect before it heads out to you. Our seaming production line was specially designed to meet the needs of the winterguard tarp industry. We can produce much larger floor tarps than many other companies because of this special design. Once floors are printed, our team folds them, (with just two or three people!), prepares them for shipping, and gets them out to you.
Designing Your Own Floor
Are you ready to get started on your own winterguard floor tarp? We have lots of options to help you out!
- Our In-Stock Floors: We have a limited supply of 50×70 9oz in stock floors that are ready to ship! Check them out on our website today. You can’t make changes to these floors, but they are ready to head to the truck- you can even pay online!
- Our Pre-Designed Floor Customizer: Our artists have some amazing designs ready for you to customize with your own colors, textures, and more! Try out our floor customizer and save time and art fees.
- Design with our Artists: Our artists are committed to making sure your design comes to life on the floor. You can use a Shutterstockk image as a starting point for your ideas, the cost of which is included in your floor design. You can use our Idea Box to get started.
- Design your Own: If you’re versed in graphic design, or have someone who is, you can submit your own print-ready artwork, or use our Online Design Tool to get your design to our artists and prepress technicians. As you get started with your designs, consider brushing up on some Color Theory to make sure your images pop on the floor.
Choosing a Floor Weight and Size
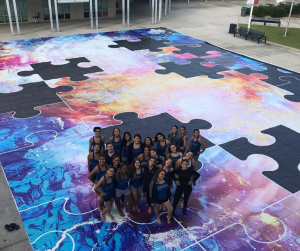
We offer floors in 9oz, 11oz, 13oz, and 15oz weights. The weight of the winterguard floor is a description of the amount of material per square yard. The higher the ounces, the thicker the material. Tensile strength, or the floor’s ability to withstand ripping or tearing from tension typically increases with the ounce count. The 11 ounce floor is our most popular product, and meets the needs of most winterguards and winds teams. Many percussion teams, especially the ones with large batteries and visual ensembles will opt for a 13 or 15 ounce floor. Floor tarps are typically 60×90 feet or smaller. If you plan to order anything larger, you should consult your local circuit and WGI rules. Remember that your floor can be smaller to accommodate a smaller team, or larger for a large number of members or props. You can also cut your floor to a variety of shapes. Keep in mind any props you may be placing on, in front of, or behind a floor as well.
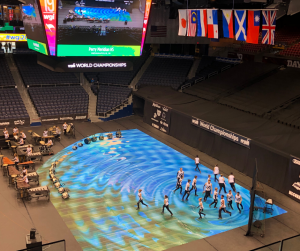
Perry Meridian HS (IN) used this unique curved look on their floor to communicate the “Water Droplet” feel to correlate with their show’s theme, and set their front ensemble in an unusual configuration to match their design. The angled prop in the opposite corner helps to reinforce the circular shapes by cutting off the back angle.
Designing for Percussion and Winds Floor Tarps
While the printing process is the same, sometimes the design considerations for floors for the different parts of our activity can vary. Most percussion teams will opt for a smaller floor to accommodate a front ensemble. It’s almost always a good idea to keep your front ensemble off your floor to aid in entering and exiting the competition area in a timely manner. Be sure to measure the space in the competition are you would like to use for the front ensemble, and then measure the space you want to use for the floor. Remember that events happening directly behind the front ensemble can be easily covered up, especially for the downstairs judges, so think about being several feet behind the front ensemble. If your front is on the floor, have a plan for entering and exiting quickly, and for dealing with all those heavy wheels on your floor.
